
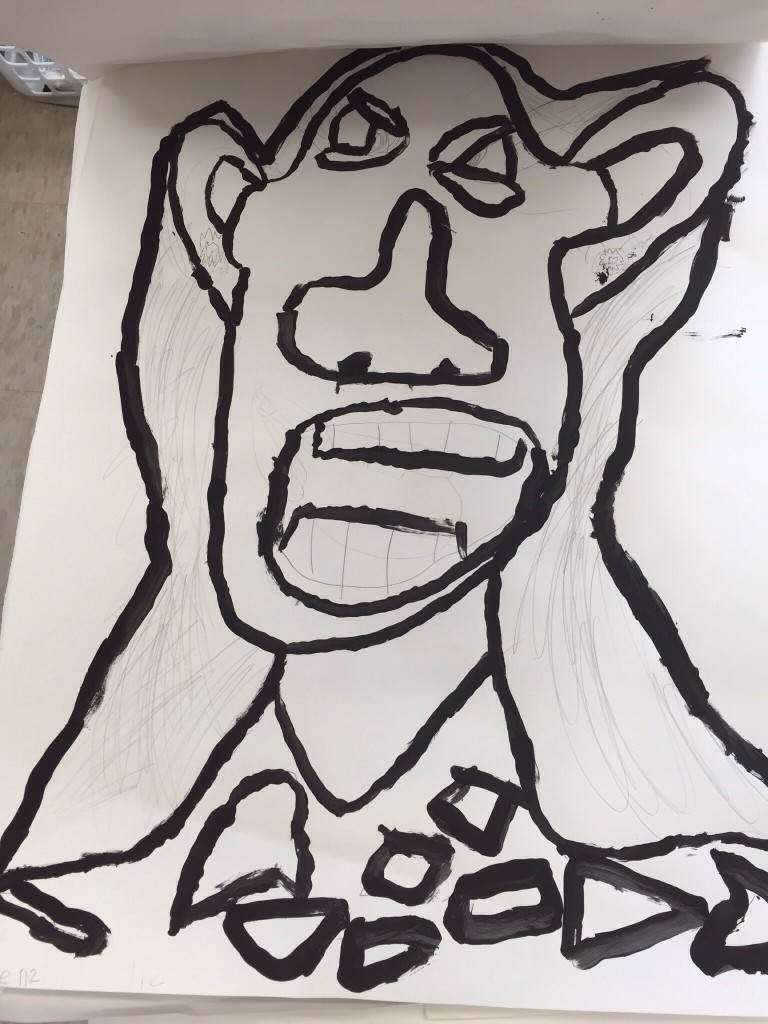
This is a unit where I am learning just as much as the kids! 3rd grade classes are working on one of two projects right now. They are either working on a life size multimedia self portrait or a portrait in the style of Picasso’s cubist period. Last year I did the Picasso lesson with 3rd graders. I think they liked it, but I wasn’t satisfied with the results of the craypa portraits. So this year I changed the portrait project to a life sized self portrait. We traced each other and are making torn paper faces/ features. Then students have a choice of media to complete their clothes, hair and backgrounds of the portraits. They can use watercolor paint, tempera paint, collage, fabric, marker, pencils, crayons. I wanted to give them a lot of choices to express themselves. We started the new project with 3 classes and it has been challenging for the kids. They are turning out well, but I think some are struggling with the torn paper part and its taking way longer than I thought it would. So, I changed course with the other 2 classes and went back to Picasso but with a larger scale portrait project using paint. I think the kids are having way more fun with the large scale Picasso portraits so that will be the keeper for next year! I love teaching when things don’t go as planned and I have the chance to fine tune projects until the kids let me know we are on track again! Either way, the students are getting a great portraiture experience. When we are done, I will flip flop projects on a smaller scale- so the classes that did large Picasso portraits will do a small self portrait and the classes that did a large scale self portrait will do a smaller scale Picasso. That way no one will miss any content or opportunities!


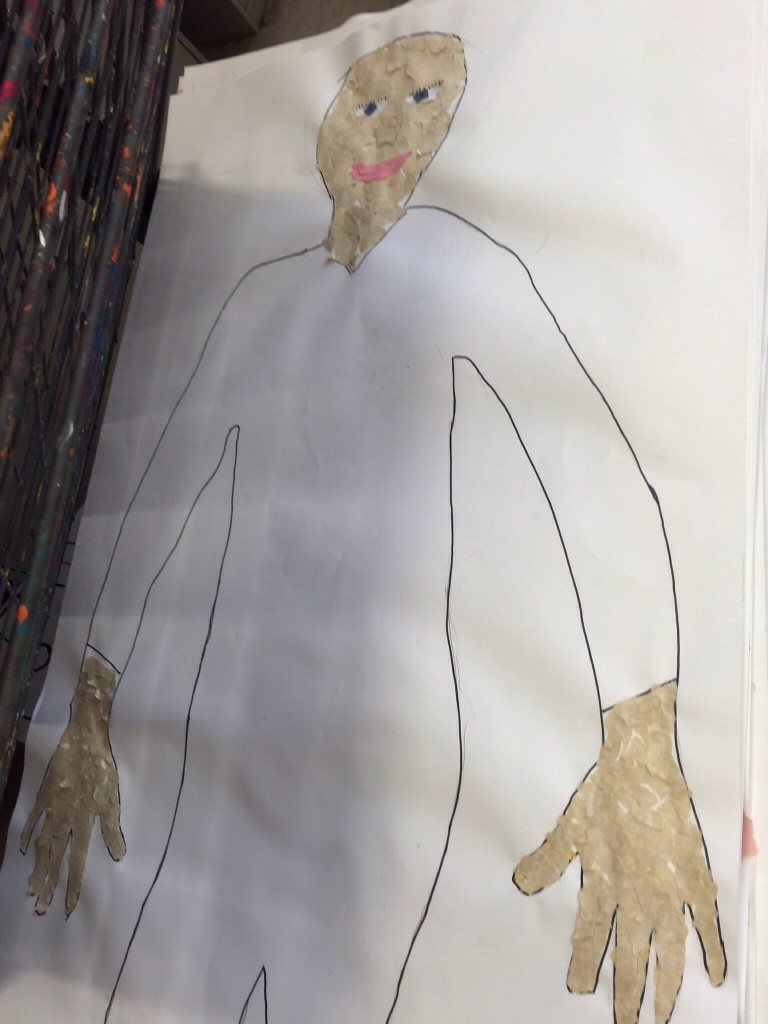


I was visiting the classroom when you were giving instruction on the facial features of the torn paper portraits. I learned something new about creating a human face in the short time I was there, and it was so exciting for me! You had demonstrated how to rip the shape of the eyeball, then the colored portion of the eye, and then you added an eyelid. An EYELID! My drawings always looked wacky, and right then I realized it was because I wasn’t included eyelids! It’s so great that our elementary aged kids have the opportunity to learn these kinds of things on a weekly basis! 😊 Thanks for all you do, Ms. Katy!
I’m always glad when you come! By the way: you are all welcome to come to art class anytime- no reservations needed 🙂 Sometimes it is just fun to sit with your kiddo and make something- so feel free to stop by!