


Gesture drawing is a quick drawing to capture the “essence” of an object or to capture motion. Sometimes artists use gesture as a way to capture an idea for a later work of art. Sometimes artists use gesture as a warm up for more detailed drawings, and sometimes they are used to show motion. They are loose, sketchy drawings. I use gesture drawing with students as an introduction to drawing people. I’ve found that one thing kids want to be able to draw well is people…..only problem is people are H.A.R.D to draw! When we start with Gesture drawing, I’ve found kids can build confidence and be much more successful. You can Google “Gesture Drawing” and click on images- there are lots of beautiful gesture drawings out there. There are even many in museum collections by Rembrandt and the like.
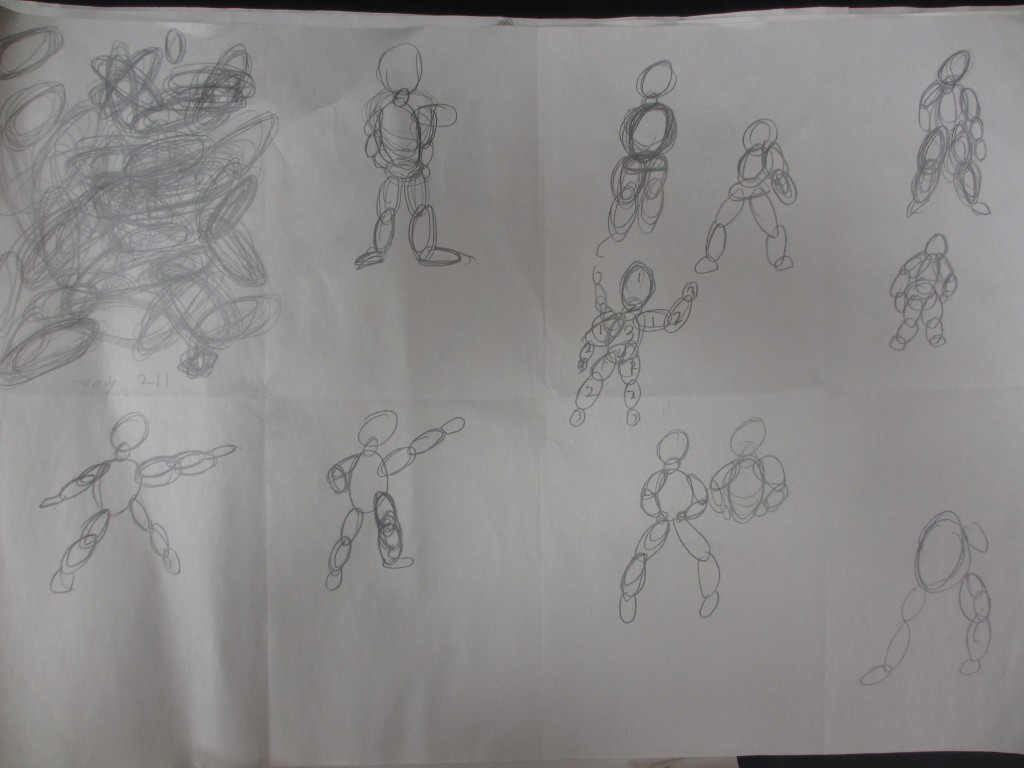
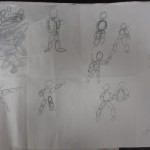
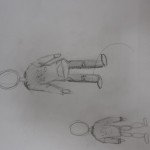
When we drew gestures, I taught the kids to use an oval for everywhere there was a “joint”- the hand was one small oval, lower arm another, upper arm another. I didn’t teach them this way because it’s the ONLY way to do gesture- I taught it that way because I wanted them to be able to quickly capture bodies in different positions. So legs and arms had 3 parts each- the rest had 4 parts: body, neck, torso and hips. The torso and hips had to be separate because moving someone’s hips alone greatly affects the other body parts. (Try to lift your leg without moving your hips at all…or move your hips without moving anything else)
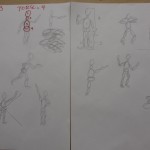
Taking turns, one student at each table stood up and struck a “pose” for the others to draw. The first drawings were timed for about a minute each. As class went on, I gradually decreased the time (gauging by the amount of groaning I heard when I called “STOP!”) By the end of class students were drawing (and accurately capturing) positions in about 10 seconds. It was really exciting to see! At the start, I told them I was going to teach them to draw a person in 10 seconds and they didn’t believe me- but by the end of the hour they were doing it!! AND every student in EVERY 4th grade stood and posed without incident. (yes, it’s a big deal 🙂 )
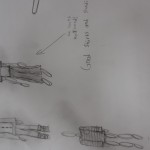
The next lesson, we used gesture drawing as a base for a more detailed drawing of a person by adding the clothes over the gesture and erasing the ovals. I had kids looking for wrinkles, shadows and patterns in the clothing and adding those over the gesture. Then they could erase the ovals, and add some shading. The bodies start to look like “real” drawings of people. These obviously take more than 10 seconds, but the kids were doing great work.
We used these gesture drawing lessons as a preface to our papier mache sculptures of people in action. The sculptures are a separate post.
Phoebe loved this! (although at first I thought she was saying “jester” drawings) 🙂